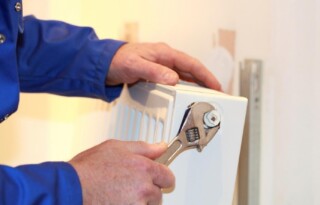
If you are looking to paint the walls or give your home a thorough spring clean, taking down the radiators from the walls can make life a lot easier. Read on to find out exactly how to disconnect and remove your radiators.
This is what you will need
To remove your radiators, you will need the following tools:
- open-end spanner
- Allen key
- bleed key
- bucket
- screw driver
- towels or old sheets to set the radiators down on
Step-by-step plan to remove radiators
- Open the switch box and switch off the main power switch of the circuit which the central heating installation runs on.
- Remove the protective cover of the check valve of your radiator and shut the valve using an Allen key. Next, shut off the radiator valve. Then open the bleed screw at the top of the radiator with a screw driver. Put a bucket underneath the radiator and fully loosen the connection with the radiator. You will now see water draining from the drainage point. Wait until the radiator has fully drained.
- Now take down the radiator. Unscrew it from the mounting brackets and gently remove it from the wall. The best thing to do is to leave it standing upright, using towels or sheets behind and underneath the radiator. Please note: however long you leave it to drain, it is not unusual for rusty coloured water to continue to seep out of the radiator at this stage!
Reconnecting your radiator
- Carefully refit the radiator onto its mounting brackets and reconnect the water pipes.
- Open the radiator’s mini-valves and shut the bleed screws.
- Reapply pressure to the pipes. When the pressure is somewhere between 1 and 2 bar, it is time to shut the two mini-valves again.
- Finally, bleed the radiator that is situated highest in the house. Open the bleed screw until it starts seeping water. The second it does, shut the bleed screw. Check the pressure again and adjust if necessary. Repeat this step until your radiators have stopped making gurgling sounds.
- Bob’s your uncle! Now switch the heating back on.
